On September 30 2021, most of the old internet connected devices reported issues in connecting websites and online services after the DST Root CA X3 certificate expired, especially those using Let’s Encrypt SSL certificates. This is not the first time that an incident like this is happening. On May 30 2020, the AddTrust External CA Root has expired which resulted in a bunch of organisations and people that used outdated OS suffered.
You can see large number of websites that you use daily are using Let’s Encrypt free SSL certificates for encrypting data between your device and the server. SSL stands for Secure Sockets Layer which is a security technology that is commonly used to secure server to browser data transactions.
Being the CEO of an IT Company and a cyber expert, I heard a lot of complaints from our global clients, friends and relatives regarding this issue. So I’m writing this blog post regarding how to fix it.
What is Let’s Encrypt?
Let’s Encrypt is a non-profit organisation that issues SSL certificates to encrypt connections between the web server and your device. Whenever you enter a website that starts with HTTPS is a secure one and the credit for the security goes to the IdentTrust DST Root CA X3 certificate. The SSL certificate ensures your data is secure on the internet and prevents hackers and cyber criminals from misusing your personal or sensitive information.
The Problem
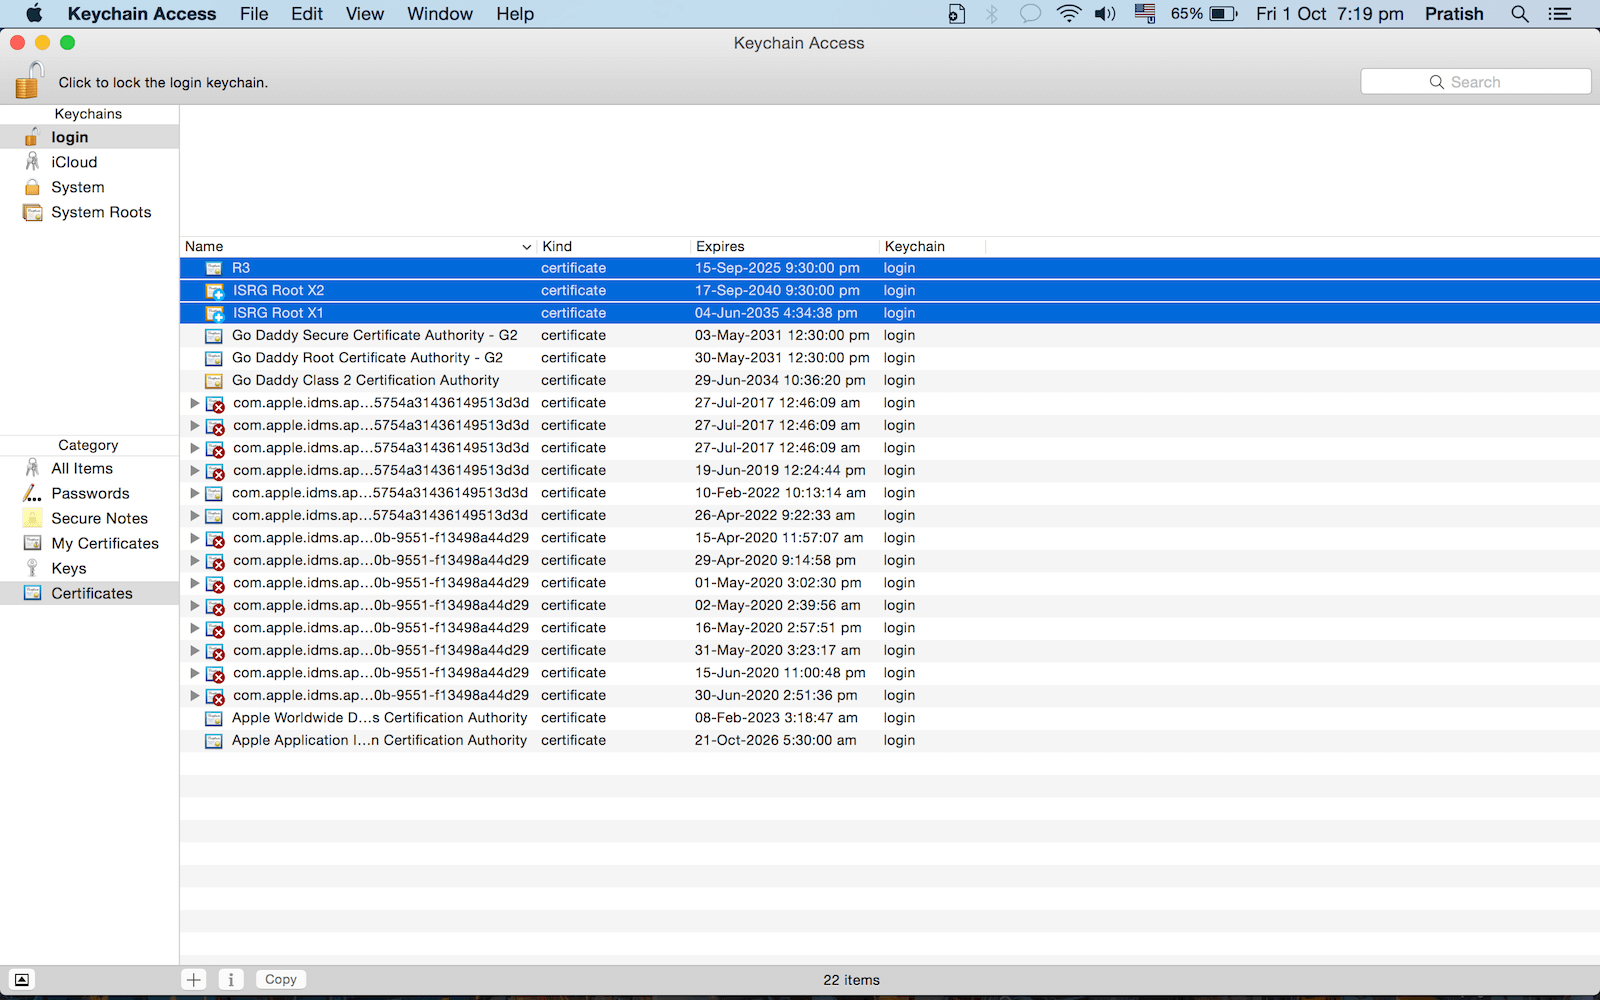
Let’s Encrypt originally used the “DST Root CA X3” certificate to issue Let’s Encrypt certificates. However, as time has passed and the service has been used more, they now use “ISRG Root X1” and “ISRG Root X2” as Root CA’s and “Let’s Encrypt R3” as an intermediate certificate.
Older devices may be using the older Root CA which expired onSeptember 30th, 2021. Please see https://letsencrypt.org/docs/dst-root-ca-x3-expiration-september-2021/ for more information.
The Fix
To fix this issue, you need to add the 2 new Root CAs to your computer or device, along with the Intermediate CA. Download the below 3 certificates to your device.
Root CA Certificates (PEM format):
Intermediate Certificate (PEM format):
You can download them by clicking on the links given above or go to the official website of Let’s Encrypt https://letsencrypt.org/certificates/ for more information and to download.
After downloading and adding these Root CAs and the Intermediate CA to your computer or device, you should have the full certificate chain to validate the Let’s Encrypt certificates. The Let’s Encrypt certificates that are used on websites that you visit and that you might have deployed on your servers should now work without any issues.
If you’re still having issues, you can try deleting the “DST Root CA X3” certificate from your existing Root CAs. Also, you may need to clear cache and cookies on your browser and reboot your device.
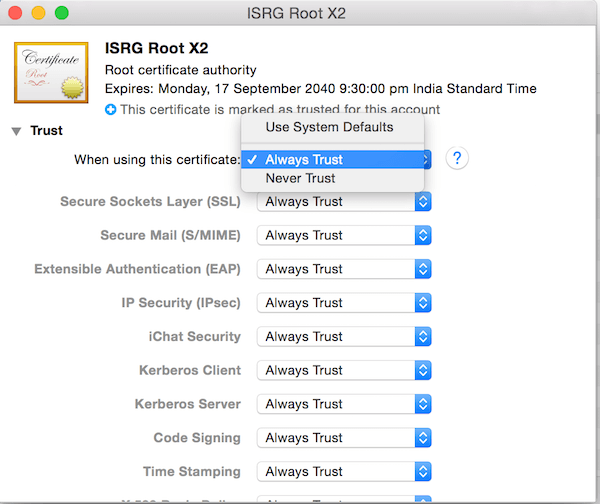
Solution for Macbook, MacOS
Go to Keychain >> File >> Import items >> Import the above 3 certificates. The double click on each >> click on ‘Trust’ accordion/button/link/dropdown >> Select ‘Always Trust’ in the drop down item of ‘When using this certificate’ item.
Solution for Windows
- Download the above 3 certificates to your PC and then choose Open option when prompted to open or save the certificate.
- When the certificate window opens, choose Install Certificate…. The Certificate Import wizard appears.
- In the wizard, choose Next. Then, when you are prompted for the Certificate Store, choose Place all certificates in the following store. Select the Trusted Root Certification Authorities store.
- Complete the remaining steps of the wizard and click Finish.
Upon completing the wizard, you next want to add the certificate snap-ins using the Microsoft Management Console (MMC).
Adding certificate snap-ins
- Launch MMC (mmc.exe).
- Choose File > Add/Remove Snap-ins.
- Choose Certificates, then choose Add.
- Choose My user account.
- Choose Add again and this time select Computer Account.
- Move the new certificate from the Certificates-Current User > Trusted Root Certification Authorities into Certificates (Local Computer) > Trusted Root Certification Authorities.
Start mmc.exe (as administrator), menu File -> Add/Remove Snap-in.., select “Certificates”, press Add, select radio button “Computer account”, press Finish and OK.
Alternate: Install the certificate for all users:
- First save the certificate in a file
- Run MMC
- Open the Certificate Manager (certmgr.msc in C:\Windows\System32)
- You will see it opens ‘Certificates – Current User’
- In the menu, choose File, Add/Remove Snap-In
- Now press Add, select ‘Certificates’ and select ‘Computer Account’
- Select the Local Computer
- Now you have two snap-ins:
- Certificates – Current User
- Certificates (Local Computer)
- Now import the certificate in “Certificates (Local Computer)\Trusted Root Certificates\Certificates””Certificates (Local Computer)\Trusted Root Certificates\Certificates”
- Performing this task using the Certificate Manager on the local machine.
- Launch mmc.exe, if a User Account Control prompt is displayed, click Yes.
- Add the Certificate Management snap-in. Click File, Add/Remove Snap-in…, Certificates. Click Add, click Computer account, Next.
- Retain “Local computer” selection,
- => Finish, OK.
Solution for Mobile Users
Update your mobile OS to latest version to fix it. You can still access websites that doesn’t use strict HTST header using the following method, but it is not a permanent solution.
Google Chrome Solution
Option 1 – Simply Proceed
If Chrome says the security certificate is from the same domain you are attempting to login to, it is likely there is nothing to worry about when this warning appears.
- To proceed, simply choose the “Advanced” link, then choose “Proceed to <link> (unsafe)“.
Option 2 – Prevent Warning
- Click a blank section of the denial page.
- Using your keyboard, type
thisisunsafe. This will add the website to a safe list, where you should not be prompted again.
Ubuntu 16 Solution
On Ubuntu machine, the solution to SSL trust issues was to remove the DST Root CA X3 certificate by running the following two commands. If not working add the above given 3 certificates to /usr/share/ca-certificates/ or your certificate directory.
sudo rm /usr/share/ca-certificates/mozilla/DST_Root_CA_X3.crt
sudo update-ca-certificates
Server Side Solution
Disable HSTS Disable HSTS in your Apache or Nginx Configuration by adding a # to it like below and reboot your server
#add_header Strict-Transport-Security "max-age=31536000";The above will disable strict security policy check so that web browsers allows to proceed to the unsecured website by clicking on a link on browser error page bottom under Advanced button.
Thank you this was very helpful.
Thank you! Your MAC solution for worked for OS X El CAPITAN!